
Illustrator Design Template
Graphic designers! Use our Adobe Illustrator template to customize the PixiWeb graphics of your dreams with pre-built artboards and simple formatting instructions.

For novice designers and seasoned pros
The three main graphic elements you can customize are the:
photo overlay
site logo
site background (optional)
The PixiWeb Illustrator template includes three preset artboards so you can easily design each of the necessary elements without having to think twice about sizing or parameters! Each artboard is set to the appropriate size so that when saved, the final files can easily be uploaded to PixiWeb without any resizing or conversion issues.
Tips for PixiWeb design success
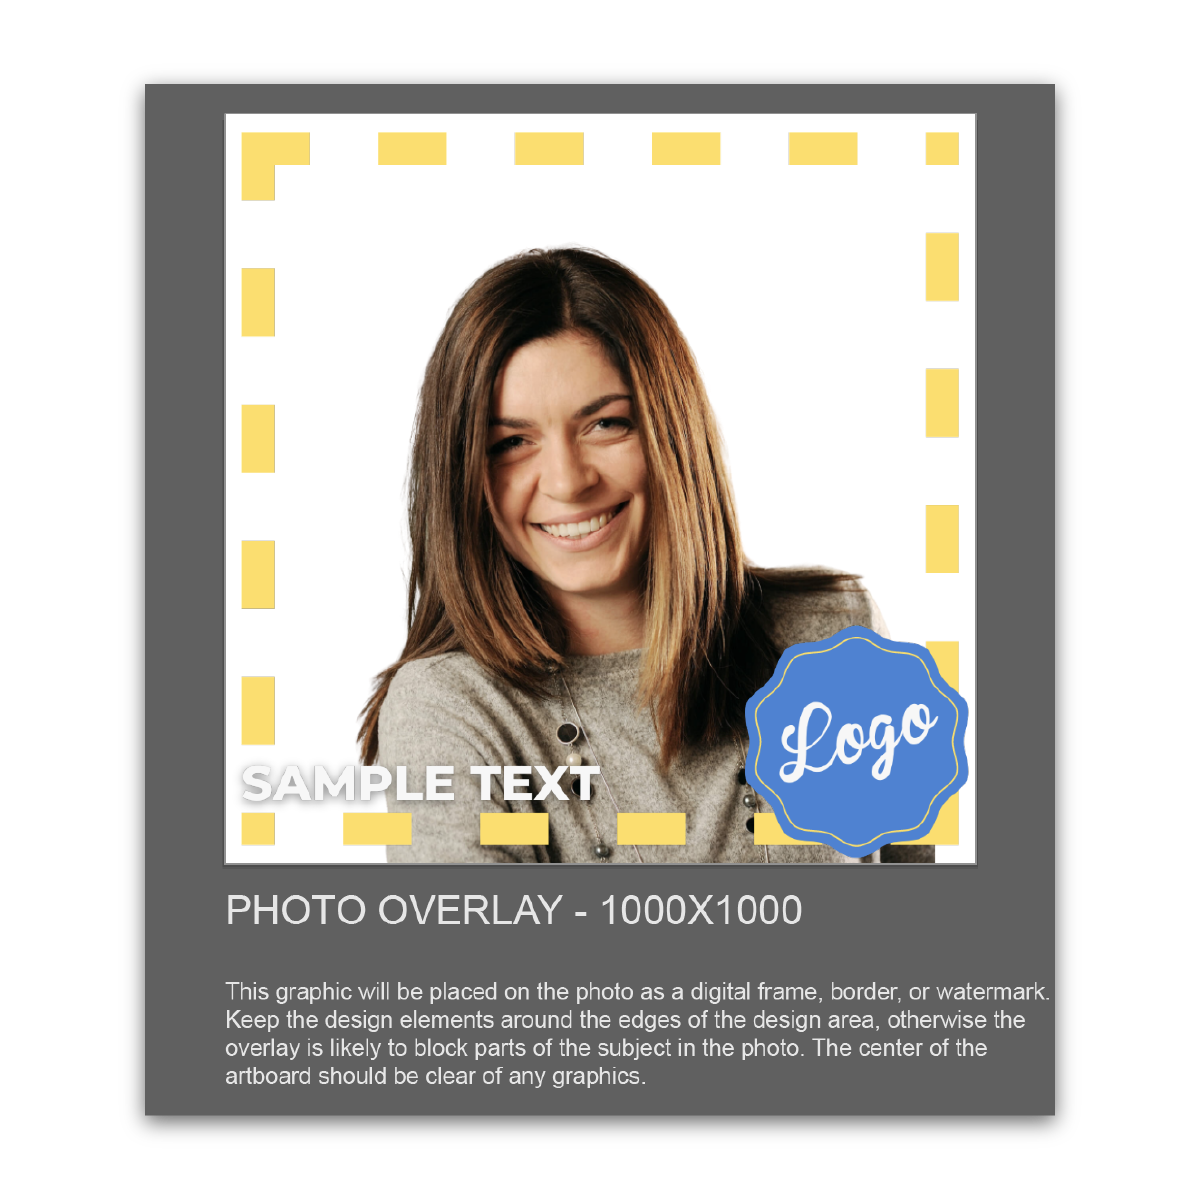
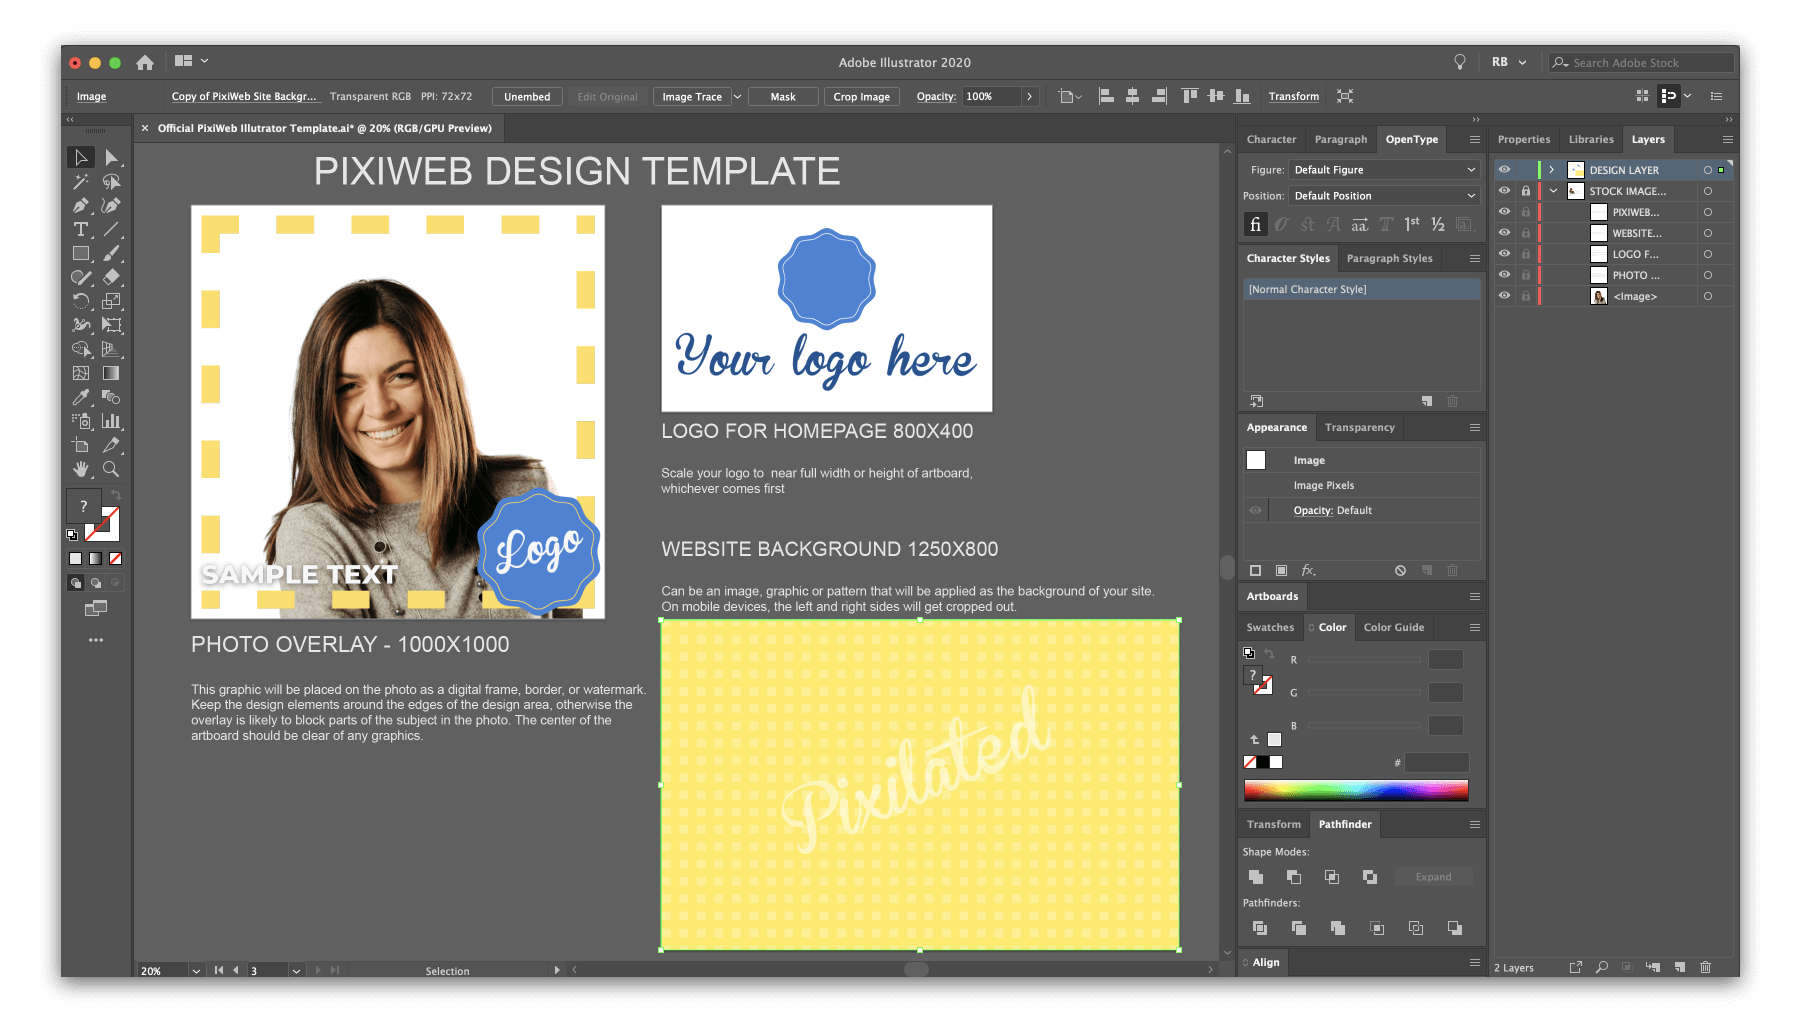
Photo Overlay
The size of the photo overlay is 1000px x 1000px.
When designing an overlay, it is important to remember that this graphic will be placed on the photo as a digital frame, border, or watermark. Therefore the designer must be mindful to keep the design elements around the edges of the design area, otherwise the overlay is likely to block parts of the subject in the photo. An overlay that takes up too much real estate will cause the graphics to clash with many of the photos. The center of the artboard should be clear of any graphics.
Site Logo
The size of site logo is 800px wide x 400px tall.
That said, if your logo is more square or round (a 1:1 height to width ratio), we suggest adjusting the artboard size to 600px x 600px. At the same time, if your logo is very flat and wide, you can adjust the logo artboard to 800px wide x 200px tall.
To change the size of the artboard in Illustrator, go to “Document Setup” and select “Edit Artboards”. You’ll easily be able to select and adjust.
Here’s cheat-sheet should you need to adjust the site logo artboard size:
Landscape logo: 800px wide x 400px tall - no adjustments needed
Square or round logo: 600px x 600px - adjust height and width of artboard
Flat & wide logo: 800px wide x 200px tall - adjust height of artboard

Site Background
The size of the site background is 1250px wide x 800px tall.
This part of the design is not required and will default to a white site background if you do not include it.
Like most websites, the site background image must be one that is not overly busy or distracting. It also must contrast nicely with either white or black text, otherwise the user will have trouble reading the PixiWeb site text and prompts. We suggest using a color, gradient, pattern or an abstract image — something that will not be obstructed when scaled differently by different screen sizes, or by other site elements (like the logo) that gets placed “on top” of it.
Saving & exporting your artwork for PixiWeb
After all that hard work, don’t forget to save it!
We suggest first saving the .ai file using a name and save location that will be easy for you to find in case you need to make any changes. After you’ve saved the native design file (.ai) you’ll need to export as .png files with transparent backgrounds. After export, you should have three PNGs (unless of course you decided not to design a site background, then you will have only two PNGs).
Here is how to save and export the files so they’re ready to be uploaded to PixiWeb:
In Illustrator, click “File” > “Save as”
Rename the file and click “Save” > “OK”
Turn off the “STOCK IMAGE” layer from the “Layers” tab
Click “File” > “Export” > “Export As”
Select “Format: PNG (png)”
Check the box for “Use Artboards” and choose “All” (if no site background was made, choose “Range” and enter 1-2)
Click “Export”
Choose “Resolution: Screen (72ppi)” and set “Background Color: Transparent” then click “OK”
You’re files are ready!
Upload them to PixiWeb in the campaign builder